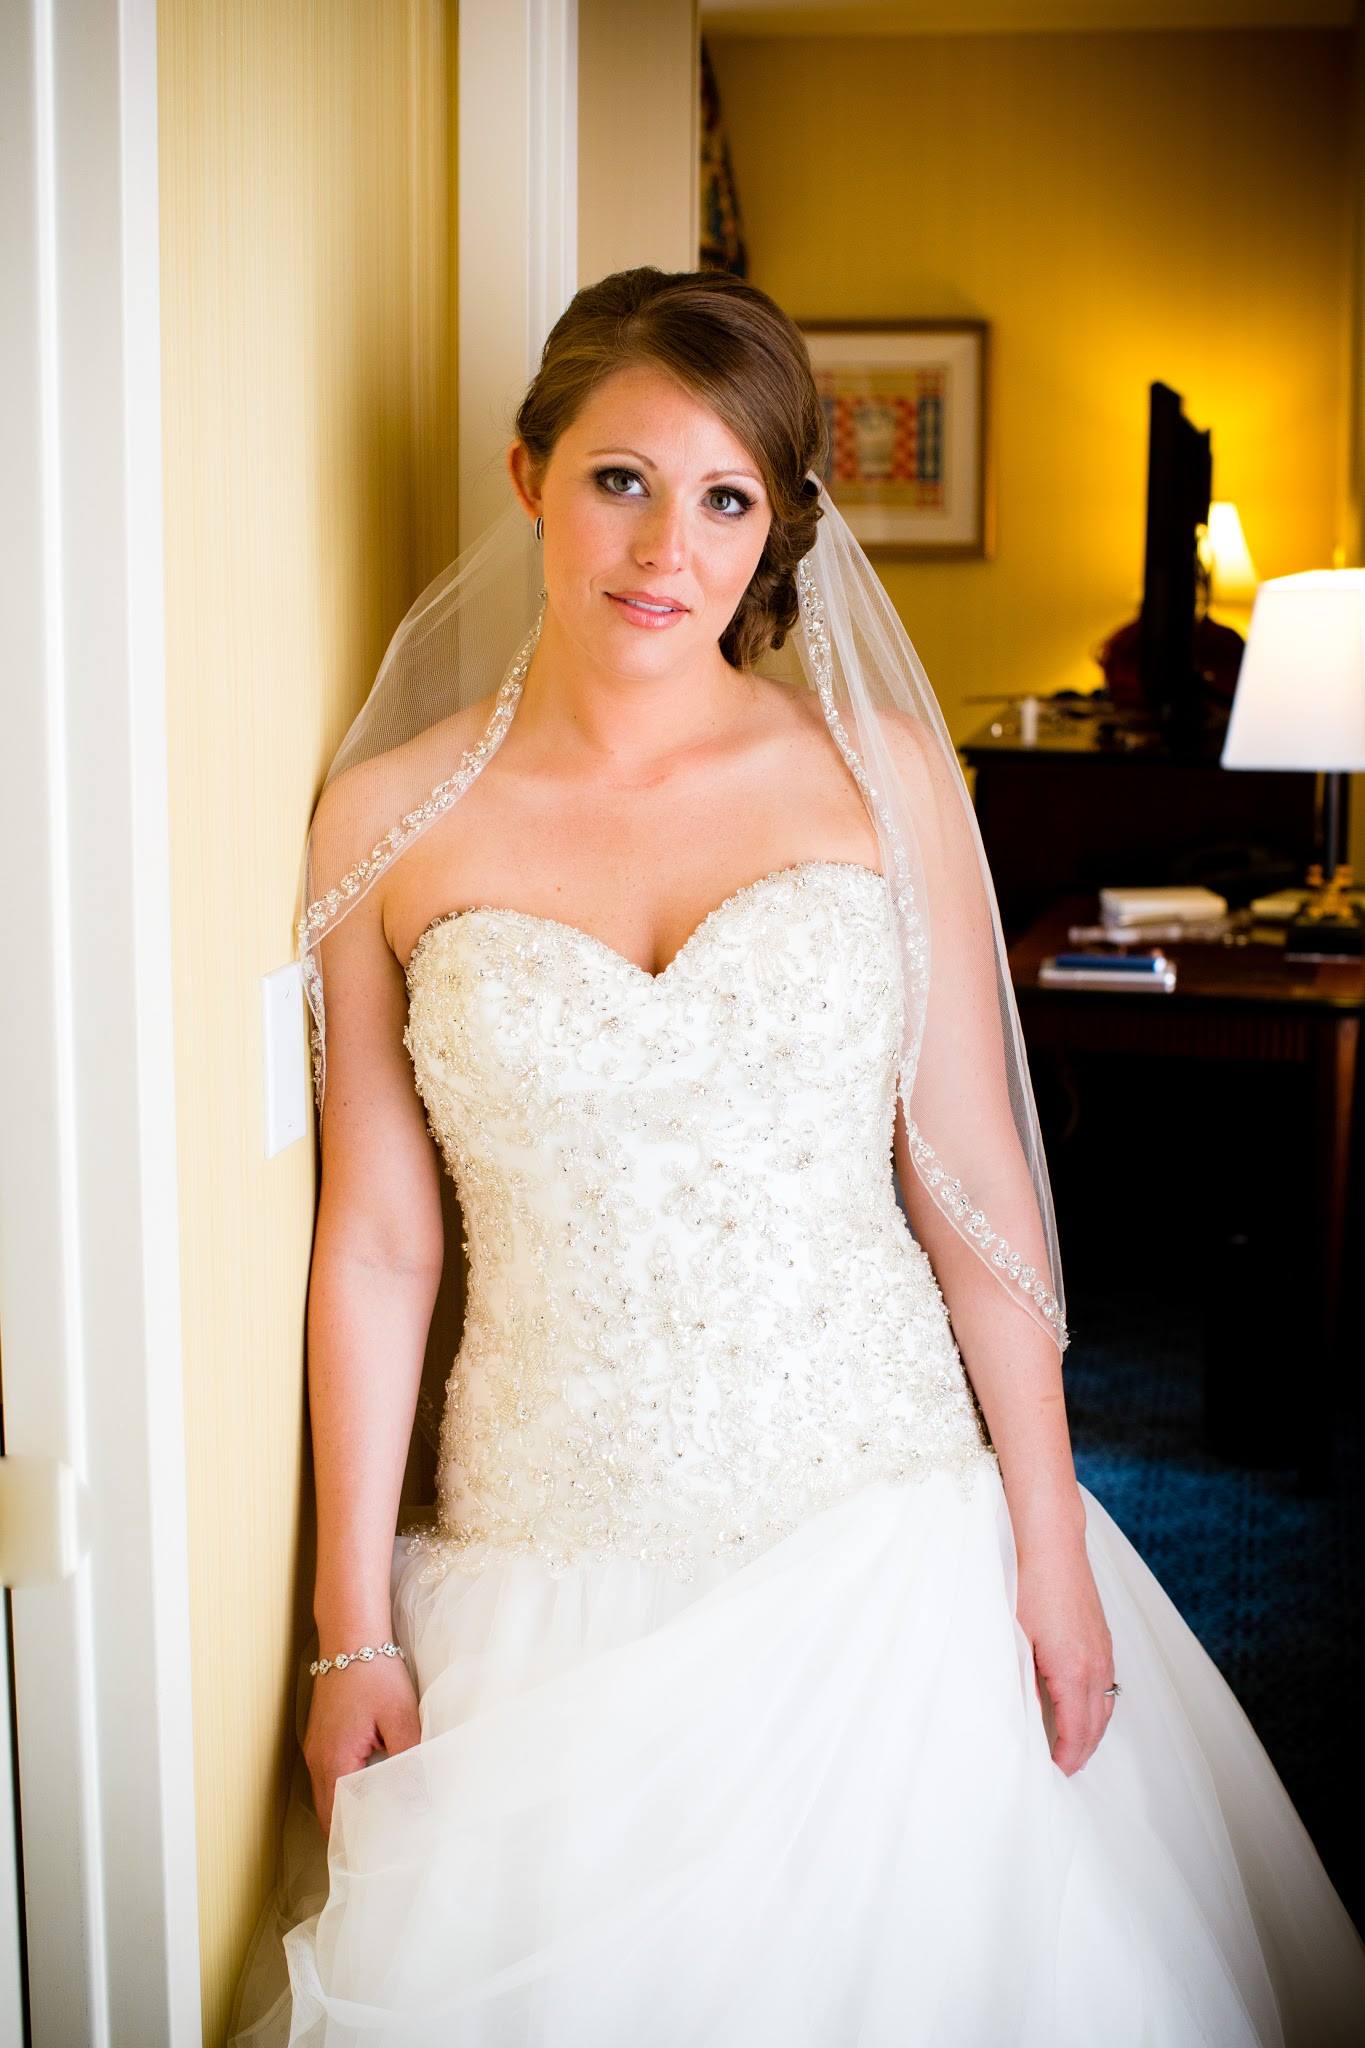
Using a silver reflector can significantly enhance portrait photography by manipulating light to achieve various effects. Here are different methods to make the most of a silver reflector in your portrait sessions. Portraits techniques.
1. Brighten Shadows
Position the silver reflector opposite your main light source to fill in shadows on your subject’s face. This technique ensures a more balanced lighting setup, reducing harsh shadows and creating a more flattering portrait. Hold the reflector at a 45-degree angle to the subject’s face for optimal results.
2. Create Dramatic Highlights
Use the silver reflector to add dramatic highlights to your subject. Place the reflector close to the subject, just outside the frame, to catch and redirect light onto specific areas. This method works particularly well for accentuating cheekbones, jawlines, and other facial features, adding depth and dimension to your portraits.
3. Enhance Natural Light– Portraits techniques
Enhancing natural light with a silver reflector is a straightforward method to improve your outdoor portraits. Position the reflector to catch and reflect sunlight onto your subject, brightening their face and reducing unflattering shadows. This technique works exceptionally well during golden hour, when the natural light is soft and warm.
4. Use as a Hair Light
Position the silver reflector above and behind your subject to create a hair light effect. This method separates your subject from the background and adds a professional touch to your portraits. Adjust the angle and distance to control the intensity and spread of the reflected light, ensuring it highlights the hair without overpowering the main lighting.
5. Boost Indoor Lighting
In indoor settings, use the silver reflector to enhance existing lighting conditions. Place the reflector near a window or artificial light source to redirect light onto your subject. This method is particularly useful in low-light situations, as the reflector’s reflective surface can significantly increase the available light, resulting in brighter, clearer portraits.
6. Add Catchlights– Portraits techniques
Position the silver reflector at a low angle in front of your subject to create catchlights in their eyes. This technique brings life to your subject’s eyes, making them appear more vibrant and engaging. Experiment with different angles to find the best position for creating natural-looking catchlights.
7. Soften Harsh Light
In harsh lighting conditions, use the silver reflector to soften the light on your subject. Position the reflector to bounce light onto your subject from a different angle, diffusing the intensity of direct light. This method reduces harsh shadows and highlights, resulting in a more evenly lit portrait. Portraits techniques.
8. Experiment with Angles
Experimenting with different angles can yield creative results. Move the silver reflector around your subject, trying various positions and distances to see how the light changes. Each angle offers a unique effect, allowing you to tailor the lighting to your artistic vision and the mood you want to convey in your portraits.
Using a silver reflector in portrait photography opens up a world of possibilities for manipulating light. Whether you’re brightening shadows, adding dramatic highlights, or enhancing natural light, a silver reflector is a versatile tool that can elevate your portraits to the next level. Experiment with these methods to find what works best for your style and subject. Portraits techniques